Easter Chocolate Cookies are a delightful way to infuse your spring celebrations with a touch of decadence. These cookies not only add sweetness to your festivities but also serve as a perfect treat for gatherings with family and friends. Their rich chocolate flavor is enhanced with festive touches, making them an incredible indulgence for both adults and children. As you prepare to celebrate this joyful occasion, these cookies can be the centerpiece of your dessert table, bringing smiles and satisfaction to everyone.
Imagine serving warm Easter Chocolate Cookies fresh from the oven, their gooey chocolate centers melting in your mouth. The fun shapes and vibrant decorations add a playful aspect, making them the ultimate springtime treat. Whether you’re hosting a big family dinner or an intimate afternoon with close friends, these cookies are a surefire hit.
Additionally, this recipe is simple enough that even novice bakers can join in on the fun. You can also personalize them with various toppings to reflect your style or the preferences of your guests. With Easter just around the corner, now is the perfect time to whip up these delightful goodies and create lasting memories with those you love.
Let’s dive deeper into why these cookies stand out and how to make them, ensuring you have the most enjoyable and delicious Easter celebration possible!
Why You’ll Love This Recipe
Easter Chocolate Cookies are not just another dessert; they offer a unique blend of flavors and textures that make them stand out. Here are several reasons why this recipe will become a favorite during your spring festivities:
1. Easy to Make – The recipe is straightforward, with ingredients that are commonly found in your pantry.
2. Festive Shapes – You can cut them into fun shapes that match the Easter theme, adding joy to the baking process.
3. Customizable – Feel free to mix in your favorite candies, nuts, or dried fruits to create a unique flavor profile.
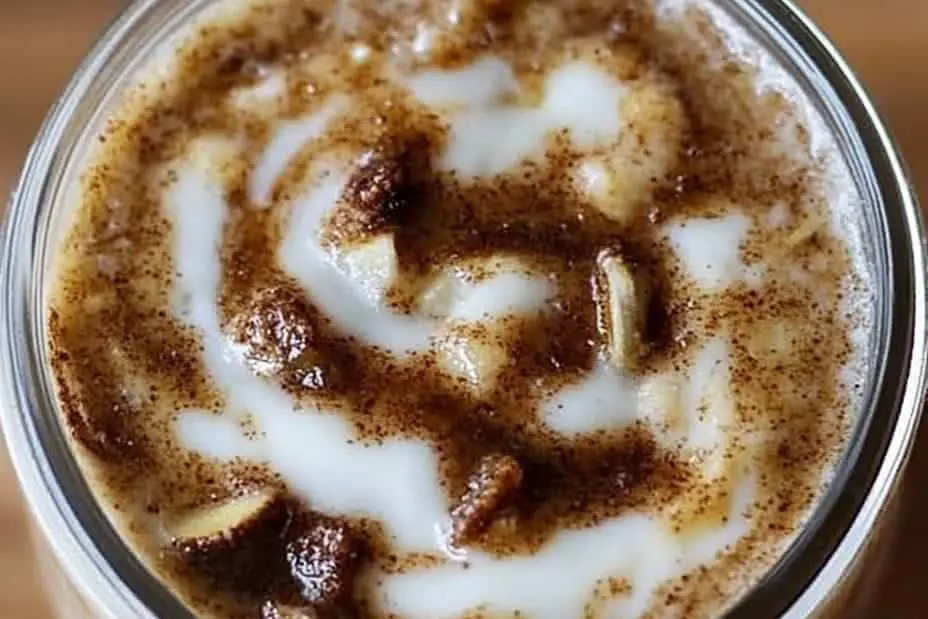
4. Wonderful Presentation – With a sprinkle of colorful sprinkles or a drizzle of white chocolate, these cookies are as beautiful as they are delicious.
5. Perfect for Sharing – Bake a batch to share with family, friends, or neighbors. They’re perfect for cookie exchanges or as gifts.
6. A Hit with All Ages – The rich chocolate flavor appeals to both kids and adults, making them a hit at any gathering.
Each bite of these cookies will evoke a sense of joy and celebration. Their delightful appearance and amazing taste will make them a memorable treat for everyone.
Preparation and Cooking Time
Preparing these Easter Chocolate Cookies will take around 1 hour. Here’s how the time breaks down:
– Preparation Time: 20 minutes
– Cooking Time: 10-12 minutes
– Cooling Time: 20-30 minutes
These times may vary depending on your baking skills and kitchen gear, but this estimate provides a good guide.
Ingredients
– 1 cup unsalted butter, softened
– 1 cup granulated sugar
– 1 cup brown sugar, packed
– 2 large eggs
– 2 teaspoons vanilla extract
– 3 cups all-purpose flour
– 1 cup unsweetened cocoa powder
– 1 teaspoon baking soda
– ½ teaspoon salt
– 2 cups chocolate chips (semi-sweet or milk chocolate)
– Colorful sprinkles or Easter-themed decorations (optional)
Step-by-Step Instructions
Creating delightful Easter Chocolate Cookies can be effortless if you follow these simple steps:
1. Preheat the Oven: Begin by preheating your oven to 350°F (175°C). Line baking sheets with parchment paper for easy cleanup.
2. Cream Butter and Sugars: In a large bowl, cream together the softened butter, granulated sugar, and brown sugar until light and fluffy.
3. Add Eggs and Vanilla: Beat in the eggs one at a time and then add the vanilla extract, mixing until fully incorporated.
4. Mix Dry Ingredients: In another bowl, whisk together the flour, cocoa powder, baking soda, and salt.
5. Combine Mixtures: Gradually add the dry ingredients to the wet mixture, stirring until just combined.
6. Fold in Chocolate Chips: Gently fold chocolate chips into the dough, ensuring an even distribution.
7. Scoop Dough: Use a tablespoon or cookie scoop to drop rounded balls of dough onto the prepared baking sheets, spaced about 2 inches apart.
8. Bake: Bake in the preheated oven for 10-12 minutes, or until the edges are set but the centers are still soft.
9. Cool on Baking Sheets: Remove the baking sheets from the oven and let the cookies cool for 5 minutes before transferring to wire racks to cool completely.
10. Decorate: If desired, drizzle melted chocolate or sprinkle decorations on top while they are still warm.
By following these steps, you’ll create a batch of Easter Chocolate Cookies that are both delightful and delicious.
How to Serve
To make your Easter celebration even more special, consider these tips for serving your cookies:
1. Presentation: Arrange the cookies on a colorful platter or in decorative baskets to enhance their visual appeal.
2. Accompaniments: Pair them with a glass of milk or coffee to elevate the taste experience.
3. Creative Serving Ideas: Place cookies in cellophane bags tied with pastel ribbons as charming take-home treats for guests.
4. Festive Pairings: Consider serving the cookies alongside other Easter-themed desserts such as carrot cake or lamb-shaped cake for a delightful dessert table.
Taking these extra steps will ensure your Easter Chocolate Cookies shine bright at any gathering, creating a memorable experience for all attendees.
Additional Tips
– Use Quality Chocolate: Opt for high-quality chocolate chips. This enhances the overall flavor of your Easter Chocolate Cookies.
– Don’t Overmix: When combining wet and dry ingredients, mix just until everything is incorporated. Overmixing can lead to tough cookies.
– Experiment with Flavors: Consider adding a hint of espresso powder or orange zest to elevate the chocolate flavor further.
– Allow Cookies to Cool: For the best texture, let your cookies cool completely before indulging. This helps the cookies firm up.
Recipe Variation
Feel free to get creative with your Easter Chocolate Cookies! Here are a few variations you might enjoy:
1. Mint Chocolate Cookies: Add peppermint extract to the dough for a refreshing twist.
2. Peanut Butter Swirl: Incorporate creamy peanut butter into the dough, or swirl it on top before baking.
3. Nutty Delights: Fold in chopped nuts like walnuts or pecans for added crunch and texture.
4. White Chocolate Version: Substitute some chocolate chips with white chocolate chips for a sweet contrast.
Freezing and Storage
– Storage: Keep your Easter Chocolate Cookies in an airtight container at room temperature. They will stay fresh for up to one week.
– Freezing: You can freeze these cookies! Place them in an airtight container with parchment paper between layers. They’ll last for about three months. For best results, thaw at room temperature before serving.
Special Equipment
To prepare your Easter Chocolate Cookies successfully, gather these essential tools:
– Mixing bowls: For combining ingredients.
– Electric mixer: Helps achieve a fluffy dough.
– Cookie scoop: Ensures uniform cookie size for even baking.
– Parchment paper: Facilitates easy cookie removal and cleanup.
Frequently Asked Questions
Can I use gluten-free flour?
Yes, you can substitute all-purpose flour with a 1:1 gluten-free flour blend.
How can I prevent my cookies from spreading too much?
Chill the dough for about 30 minutes before baking. This solidifies the butter and prevents extensive spreading.
Can I make the cookies in advance?
Absolutely! You can bake them a few days ahead of time. Just store them in an airtight container to keep them fresh.
What should I do if my cookies turn out too hard?
If your cookies are too hard, check your baking time. Try baking them for a shorter duration. Ideally, the centers should still be slightly soft when you remove them from the oven.
Conclusion
Easter Chocolate Cookies are not only a deliciously indulgent treat but also an enchanting addition to your spring festivities. With their rich chocolate flavor, customizable options, and easy preparation, they are bound to delight everyone at your celebration. Whether you serve them at a family gathering or bring them along to a friend’s event, these cookies will bring smiles and joy. So gather your loved ones, make some memories, and enjoy the sweet taste of spring with these delectable cookies!

Easter Chocolate Cookies: Amazing Ultimate Treats for Your Spring Celebration
- Total Time: 0 hours
Ingredients
– 1 cup unsalted butter, softened
– 1 cup granulated sugar
– 1 cup brown sugar, packed
– 2 large eggs
– 2 teaspoons vanilla extract
– 3 cups all-purpose flour
– 1 cup unsweetened cocoa powder
– 1 teaspoon baking soda
– ½ teaspoon salt
– 2 cups chocolate chips (semi-sweet or milk chocolate)
– Colorful sprinkles or Easter-themed decorations (optional)
Instructions
Creating delightful Easter Chocolate Cookies can be effortless if you follow these simple steps:
1. Preheat the Oven: Begin by preheating your oven to 350°F (175°C). Line baking sheets with parchment paper for easy cleanup.
2. Cream Butter and Sugars: In a large bowl, cream together the softened butter, granulated sugar, and brown sugar until light and fluffy.
3. Add Eggs and Vanilla: Beat in the eggs one at a time and then add the vanilla extract, mixing until fully incorporated.
4. Mix Dry Ingredients: In another bowl, whisk together the flour, cocoa powder, baking soda, and salt.
5. Combine Mixtures: Gradually add the dry ingredients to the wet mixture, stirring until just combined.
6. Fold in Chocolate Chips: Gently fold chocolate chips into the dough, ensuring an even distribution.
7. Scoop Dough: Use a tablespoon or cookie scoop to drop rounded balls of dough onto the prepared baking sheets, spaced about 2 inches apart.
8. Bake: Bake in the preheated oven for 10-12 minutes, or until the edges are set but the centers are still soft.
9. Cool on Baking Sheets: Remove the baking sheets from the oven and let the cookies cool for 5 minutes before transferring to wire racks to cool completely.
10. Decorate: If desired, drizzle melted chocolate or sprinkle decorations on top while they are still warm.
By following these steps, you’ll create a batch of Easter Chocolate Cookies that are both delightful and delicious.
- Prep Time: 20 minutes
- Cook Time: 10-12 minutes
Nutrition
- Serving Size: 24 cookies
- Calories: 250 kcal
- Fat: 12g
- Protein: 3g