Frozen Yogurt Bars are a refreshing and nutritious treat perfect for hot summer days or any occasion that calls for a sweet, delicious snack. These bars combine the creamy goodness of frozen yogurt with the added benefits of fruit and toppings, making them a delightful indulgence without the guilt. This recipe is easy to follow, allowing you to create a healthy dessert that satisfies your cravings and impresses your friends and family.
If you’ve ever tasted homemade frozen yogurt bars, you know just how delightful they can be. The moment you take a bite, the smooth, creamy texture melts in your mouth, and the flavors burst forth, bringing joy with every lick or bite. Not only are they delicious, but they also allow you to enjoy a guilt-free treat that is far healthier than traditional ice cream. These bars are a wonderful option for kids and adults alike, making them a versatile choice for any gathering or family snack.
In this guide, you’ll discover the incredible benefits of Frozen Yogurt Bars, their simple ingredients, and step-by-step instructions to prepare them. This amazing recipe is wonderfully customizable, meaning you can make them your own by choosing your favorite flavors and toppings. So, what are you waiting for? Let’s dive into the sweet world of Frozen Yogurt Bars!
Why You’ll Love This Recipe
The beauty of Frozen Yogurt Bars lies in their flexibility and health benefits. They are a perfect blend of taste and nutrition, ensuring everyone will love them. Here are a few reasons why you will adore this recipe:
1. Healthy Ingredients: Made from yogurt and fruit, they provide essential nutrients without excessive sugars or unhealthy fats.
2. Easy to Make: The recipe requires minimal effort, making it an accessible treat for anyone, even if you’re a beginner in the kitchen.
3. Customizable: You can mix and match flavors, fruits, and toppings to suit your preferences. The possibilities are endless!
4. Kid-Friendly: Children will love these colorful bars, which are not only fun to eat but also healthy. You can involve them in the preparation process too!
5. Make Ahead: These bars freeze well, allowing you to prepare them in advance and have a quick treat ready whenever you want.
6. Great for Parties: Whether it’s a birthday or a summer BBQ, these bars are a hit among guests and are a nutritious alternative to traditional desserts.
Frozen Yogurt Bars are not just a treat; they are the perfect way to enjoy sweets without the guilt, fostering healthier eating habits for you and your family.
Preparation and Cooking Time
Preparing Frozen Yogurt Bars is quick and easy. Let’s break down the time needed:
– Preparation Time: 15 minutes
– Freezing Time: 4-6 hours (or overnight for best results)
This means you can get these delicious bars ready in no time. Just a little patience while they freeze, and you’ll have a stunning treat ready to enjoy!
Ingredients
– 2 cups plain or flavored yogurt (Greek yogurt works great)
– 1 cup fresh or frozen fruit (such as strawberries, blueberries, or mango)
– ¼ cup honey or maple syrup (adjust sweetness to taste)
– 1 teaspoon vanilla extract (optional)
– ½ cup granola or nuts (for topping, optional)
– Fresh mint leaves (for garnish, optional)
Step-by-Step Instructions
Creating these delightful Frozen Yogurt Bars is simple. Just follow these easy steps:
1. Choose Your Base: In a mixing bowl, add the yogurt of your choice. If you’re using plain yogurt, stir in the vanilla extract for extra flavor.
2. Add Sweetener: Mix in honey or maple syrup, ensuring it’s well combined with the yogurt. Taste to adjust sweetness if needed.
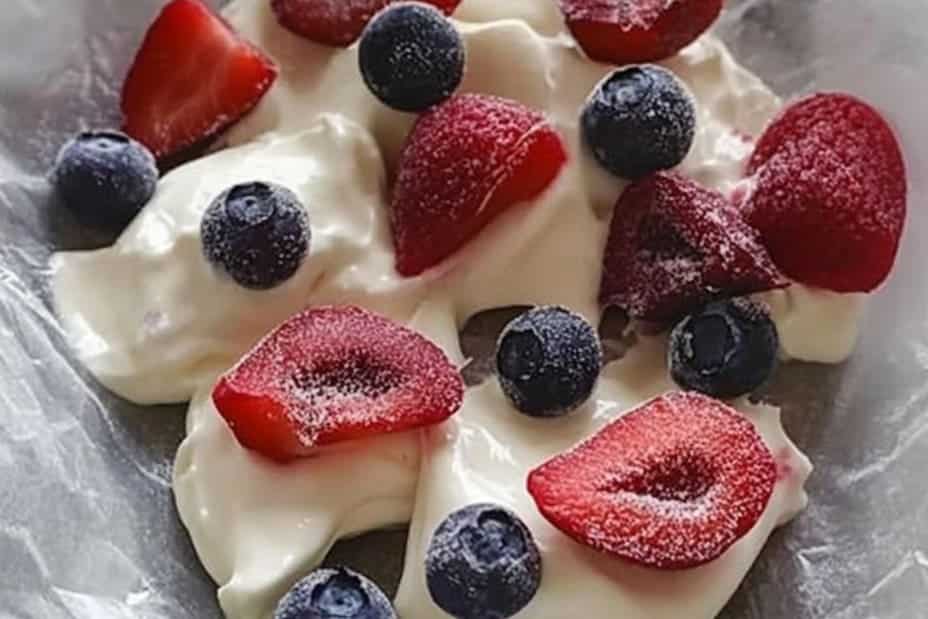
3. Prepare the Fruit: If you’re using fresh fruit, wash and chop it into small pieces. If you’re using frozen fruit, let it thaw slightly.
4. Combine Mixtures: Fold in the fruit gently into the yogurt mixture. Be careful not to mash the fruit; you want to keep some chunks for texture.
5. Prepare the Mold: Line a rectangular baking dish or a silicone mold with parchment paper for easy removal later.
6. Fill the Mold: Pour the yogurt and fruit mixture into the prepared mold, smoothing out the top with a spatula.
7. Add Toppings: If you wish, sprinkle granola or nuts on top for added crunch.
8. Freeze: Cover with plastic wrap and place in the freezer. Allow to freeze for 4-6 hours or until completely solid.
9. Cut into Bars: Once frozen, remove from the mold and slice into desired shapes and sizes.
10. Serve: Garnish with fresh mint leaves if you like, and enjoy your homemade Frozen Yogurt Bars!
How to Serve
Serving Frozen Yogurt Bars can be just as fun as making them! Here are some suggestions to elevate your serving game:
1. Presentation: Place bars on a decorative platter for a stunning display. Consider using colorful plates to enhance their visual appeal.
2. Accompaniments: Offer toppings like melted chocolate, additional fruit, or shredded coconut on the side, allowing guests to customize their bars.
3. Storage Tips: Keep any leftovers in an airtight container in the freezer. Let them sit at room temperature for a few minutes before serving to soften slightly.
4. Beverage Pairings: These bars pair wonderfully with refreshing beverages like iced tea or lemonade, enhancing the summer treat experience.
Frozen Yogurt Bars are more than just a dessert; they are a delightful mix of health and fun that everyone can enjoy. Perfect for any occasion, these bars will surely have everyone coming back for seconds!
Additional Tips
– Use Fresh Ingredients: Fresh fruit yields the best flavor and texture. Opt for seasonal produce when available.
– Blend the Yogurt: For a smoother consistency, blend the yogurt before mixing in the other ingredients.
– Experiment with Flavor: Don’t hesitate to try different flavored yogurts, such as coconut, vanilla, or even specialty flavors.
Recipe Variation
Feel free to get creative! Here are some enticing variations to try:
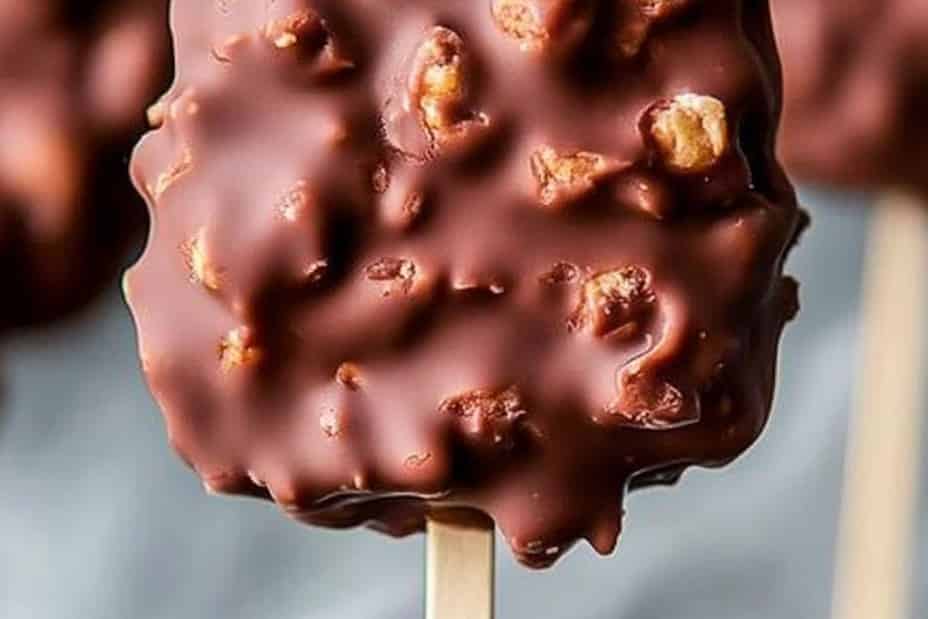
1. Chocolate Lovers: Incorporate cocoa powder into the yogurt mix or swirl in some melted chocolate before freezing for a delicious chocolate treat.
2. Tropical Delight: Use tropical fruits like pineapple and coconut yogurt for a refreshing twist reminiscent of a beach getaway.
3. Nutty Crunch: Mix in almond or peanut butter with the yogurt for a nutty flavor, adding a delightful creaminess to the bars.
Freezing and Storage
– Storage: Keep your homemade Frozen Yogurt Bars in an airtight container in the freezer. They can last for up to 3 months.
– Thawing: To serve, allow the bars to sit at room temperature for a few minutes to soften slightly. This makes them easier to cut and eat.
Special Equipment
To create these delicious Frozen Yogurt Bars, you will need the following equipment:
– Mixing bowls: For combining your ingredients effectively.
– Silicone molds or a baking dish: To shape the bars during freezing.
– Spatula: For smoothing out the mixture in the mold.
– Parchment paper: For easy removal of the bars post-freezing.
– Knife: To cut the bars into preferred sizes after freezing.
Frequently Asked Questions
Can I use dairy-free yogurt?
Yes, you can substitute dairy yogurt for coconut or almond yogurt for a delicious vegan-friendly version.
What if my yogurt mixture is too thick?
If the mixture feels too thick, add a splash of milk or almond milk to achieve the desired consistency.
How can I incorporate superfoods?
You can mix in chia seeds, flaxseeds, or even protein powder to boost the nutritional content of the bars.
Is it safe to refreeze the bars after they thaw?
It’s better to consume them without refreezing, as repeated thawing and freezing can affect texture and quality.
Can I prepare these bars without a mixer?
Absolutely! Mixing by hand with a whisk works just fine, although it may take a bit more effort.
Conclusion
Frozen Yogurt Bars are a delicious and healthy treat perfect for summer or any occasion. With easy-to-follow recipes, simple ingredients, and endless customization options, you can enjoy a guilt-free dessert that pleases both kids and adults. Get creative in the kitchen and indulge in these refreshing bars made to satisfy your sweet tooth!

Frozen Yogurt Bars: An Amazing Ultimate Treat for Everyone
- Total Time: 15 minutes
Ingredients
– 2 cups plain or flavored yogurt (Greek yogurt works great)
– 1 cup fresh or frozen fruit (such as strawberries, blueberries, or mango)
– ¼ cup honey or maple syrup (adjust sweetness to taste)
– 1 teaspoon vanilla extract (optional)
– ½ cup granola or nuts (for topping, optional)
– Fresh mint leaves (for garnish, optional)
Instructions
Creating these delightful Frozen Yogurt Bars is simple. Just follow these easy steps:
1. Choose Your Base: In a mixing bowl, add the yogurt of your choice. If you’re using plain yogurt, stir in the vanilla extract for extra flavor.
2. Add Sweetener: Mix in honey or maple syrup, ensuring it’s well combined with the yogurt. Taste to adjust sweetness if needed.
3. Prepare the Fruit: If you’re using fresh fruit, wash and chop it into small pieces. If you’re using frozen fruit, let it thaw slightly.
4. Combine Mixtures: Fold in the fruit gently into the yogurt mixture. Be careful not to mash the fruit; you want to keep some chunks for texture.
5. Prepare the Mold: Line a rectangular baking dish or a silicone mold with parchment paper for easy removal later.
6. Fill the Mold: Pour the yogurt and fruit mixture into the prepared mold, smoothing out the top with a spatula.
7. Add Toppings: If you wish, sprinkle granola or nuts on top for added crunch.
8. Freeze: Cover with plastic wrap and place in the freezer. Allow to freeze for 4-6 hours or until completely solid.
9. Cut into Bars: Once frozen, remove from the mold and slice into desired shapes and sizes.
10. Serve: Garnish with fresh mint leaves if you like, and enjoy your homemade Frozen Yogurt Bars!
- Prep Time: 15 minutes
- Cook Time: 0 minutes
Nutrition
- Serving Size: 8 bars
- Calories: 120 kcal
- Fat: 2g
- Protein: 4g