Introduction
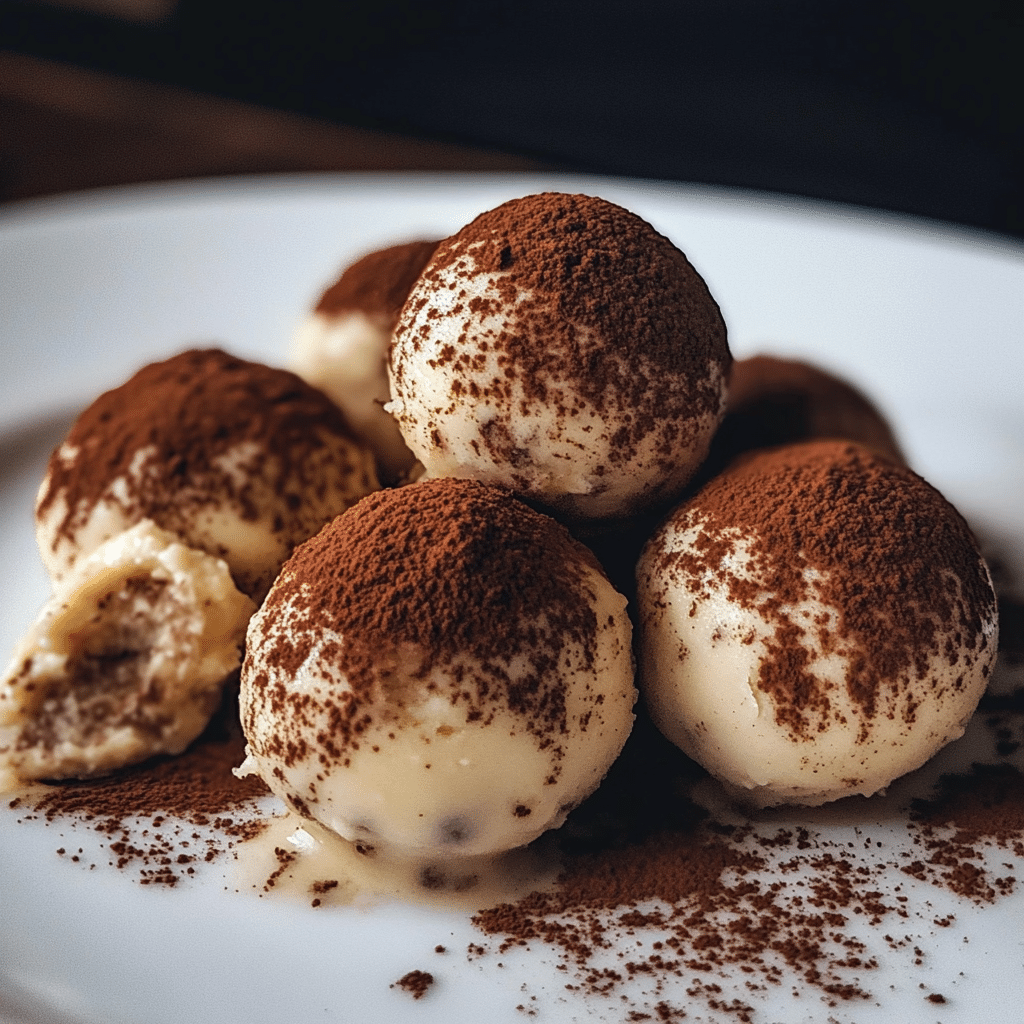
Tiramisu Balls are the perfect bite-sized twist on a classic Italian dessert, delivering all the rich flavors of tiramisu in one convenient, indulgent mouthful. The combination of creamy mascarpone, bold espresso, and a hint of cocoa creates a dessert that’s both sophisticated and deeply satisfying. These little bites aren’t just a treat; they’re a celebration of tiramisu’s essence in its most portable form.
These Tiramisu Balls have a special place in my dessert lineup. I first made them for a dinner party, and they were an instant hit. The velvety texture of mascarpone mixed with espresso-soaked cookie crumbs, dusted in cocoa powder, was met with so much enthusiasm that I knew they’d be a permanent addition to my repertoire. Every bite is a flavor explosion that brings back memories of sharing desserts and laughter with good company.
Tiramisu Balls are perfect for those moments when you crave the taste of tiramisu without the fuss of assembling a full dessert. They’re easy to make ahead and are perfect for parties, gatherings, or even as a quick after-dinner indulgence. Serve them chilled with a cup of coffee, and you have a match made in dessert heaven. If you’re looking for a dessert that’s elegant, easy, and unforgettable, these little bites are the ones to make!
Perfect for:
- Dessert buffets
- Afternoon coffee breaks
- Gift boxes or party favors
- Celebrations and get-togethers
- Make-ahead treats
Why You’ll Love This Tiramisu Balls
Here’s why these Tiramisu Balls are bound to become your new go-to dessert:
- Quick and No-Bake: No oven needed—just mix, roll, and chill.
- Alcohol-Free: All the flavor of tiramisu without using alcohol.
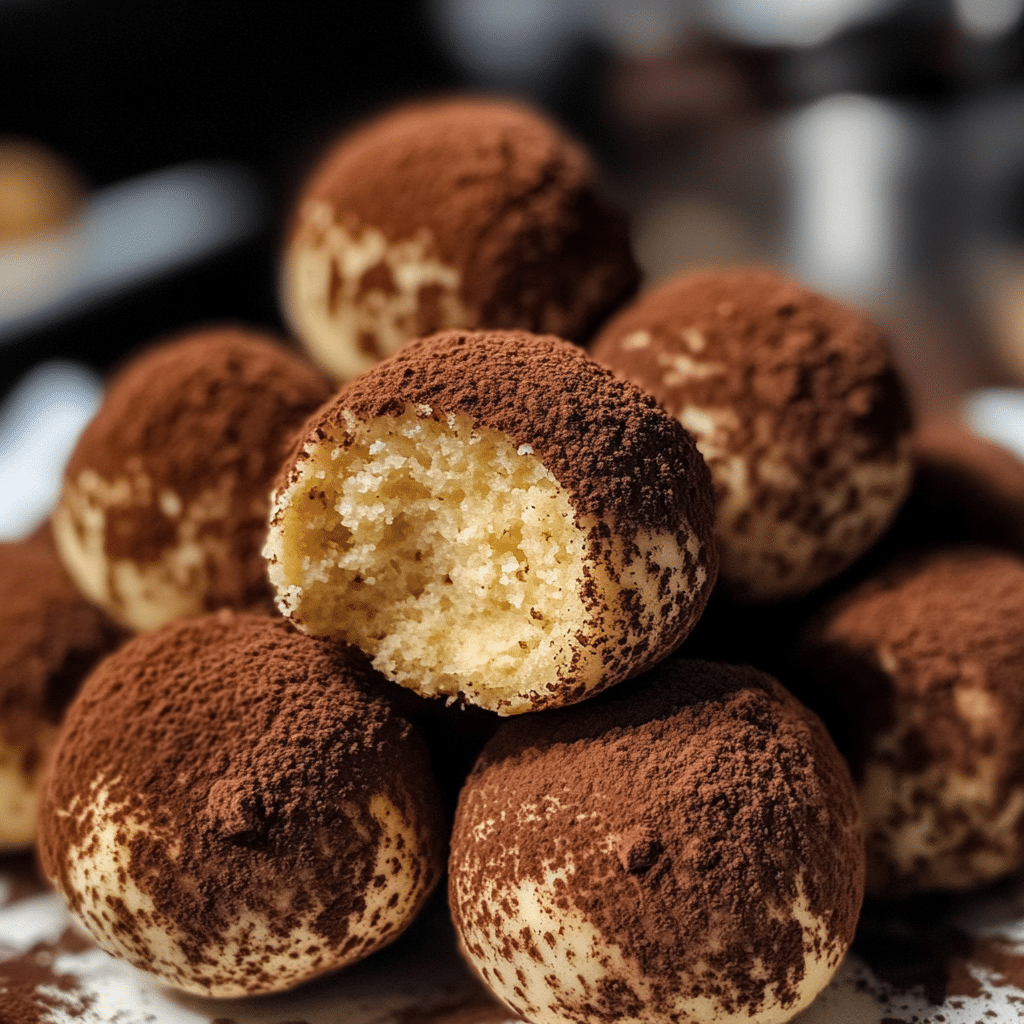
- Rich, Creamy Texture: The mascarpone filling is smooth and luscious.
- Customizable: Add different coatings or fillings for variety.
- Travel-Friendly: Great for picnics, potlucks, or gifting.
Preparation and Cooking Time
- Total Time: 1 hour 10 minutes (including chilling time)
- Preparation Time: 20 minutes
- Chilling Time: 50 minutes
- Servings: 20 balls
- Calories per serving: Approximately 90-100 calories per ball
- Key Nutrients: Carbohydrates: 10g, Fat: 5g, Protein: 2g
Ingredients
To make these Tiramisu Balls, gather the following:
- 1 cup crushed ladyfinger biscuits (savoiardi)
- ½ cup mascarpone cheese
- 2 tablespoons brewed coffee (cooled)
- 2 tablespoons powdered sugar
- 1 teaspoon vanilla extract
- ½ cup finely ground almonds or hazelnuts (optional)
- 3 tablespoons unsweetened cocoa powder, for rolling
- 2 tablespoons finely grated dark chocolate, for rolling
- 1 tablespoon powdered sugar (for coating, optional)
Ingredient Highlights
- Ladyfinger Biscuits: Provide a soft, crumbly base with traditional tiramisu flavor.
- Mascarpone Cheese: Adds creaminess and richness to replicate the tiramisu filling.
- Brewed Coffee: Infuses the balls with a subtle, authentic coffee flavor.
- Cocoa Powder: Offers a classic tiramisu dusting for the perfect finish.
- Vanilla Extract: Enhances the dessert’s overall aroma and flavor.
Step-by-Step Instructions
Mix the Ingredients:
- Crush Ladyfingers: Place ladyfinger biscuits in a food processor or resealable bag and crush into fine crumbs.
- Prepare the Base: In a large mixing bowl, combine the crushed ladyfingers, mascarpone cheese, brewed coffee, powdered sugar, and vanilla extract. Stir until the mixture forms a sticky dough.
Chill the Dough:
- Refrigerate: Cover the dough with plastic wrap and refrigerate for 30 minutes to allow it to firm up for easier rolling.
Roll and Coat:
- Form Balls: Using a teaspoon, scoop out portions of the dough and roll into 1-inch balls.
- Coat the Balls: Roll each ball in your desired coating—cocoa powder, grated dark chocolate, or powdered sugar. For a variety pack, try using different coatings.
Chill Again and Serve:
- Final Chill: Place the coated balls on a tray and refrigerate for at least 20 minutes to set.
- Serve: Arrange on a dessert plate or in mini cupcake liners for a neat presentation.
How to Serve Tiramisu Balls
Tiramisu Balls can be served in multiple ways for maximum presentation impact:
- On a Dessert Platter: Arrange a variety of coated balls on a decorative plate or cake stand.
- With Coffee: Pair with espresso or cappuccino for a perfect Italian-inspired treat.
- In Mini Gift Boxes: Place in small boxes or clear bags tied with ribbons for gifting.
- Layered in a Jar: Add a few balls to a mason jar for a rustic, charming display.
- As Part of a Dessert Buffet: Include alongside other bite-sized sweets for a diverse dessert spread.
Additional Tips for Tiramisu Balls
Keep these tips in mind to make the best Tiramisu Balls:
- Use Fresh Coffee: Brew a fresh cup for the best flavor. Avoid using instant coffee unless it’s high quality.
- Don’t Over-Mix: Combine ingredients just until the dough forms to avoid a dense texture.
- Chill Properly: Chilling the dough ensures the balls are easy to roll and hold their shape.
- Experiment with Coatings: Try rolling in finely ground nuts, coconut flakes, or crushed chocolate cookies for variety.
- Storage: Store in an airtight container in the refrigerator for up to 5 days.
Recipe Variations for Tiramisu Balls
Try these 10 variations to put a personal spin on your Tiramisu Balls:
- Nutty Tiramisu Balls: Roll in crushed hazelnuts or almonds for added crunch.
- Chocolate-Coated Balls: Dip each ball in melted dark or white chocolate.
- Coconut Tiramisu Balls: Roll in shredded coconut for a tropical twist.
- Matcha Tiramisu Balls: Roll in matcha powder for a unique, earthy flavor.
- Cinnamon Sugar Coating: Combine cinnamon and powdered sugar for a warm, spiced finish.
- Espresso-Infused: Add a teaspoon of espresso powder to the dough for an extra coffee hit.
- Vanilla Cream Balls: Replace cocoa powder with finely crushed vanilla wafers for a lighter taste.
- Strawberry Tiramisu Balls: Add freeze-dried strawberry powder to the dough or coating.
- Mint Chocolate Variation: Incorporate a few drops of peppermint extract for a refreshing touch.
- Vegan Tiramisu Balls: Use dairy-free mascarpone alternatives and plant-based biscuits for a vegan-friendly version.
Freezing and Storage for Tiramisu Balls
- Freezing: Place Tiramisu Balls in a single layer on a tray and freeze until solid. Transfer to an airtight container and freeze for up to 2 months. Thaw in the refrigerator before serving.
- Storage: Store in an airtight container in the fridge for up to 5 days. Keep the balls chilled until ready to serve.
Special Equipment for Tiramisu Balls
Here’s what you’ll need to make Tiramisu Balls effortlessly:
- Food Processor: Great for crushing ladyfinger biscuits quickly and evenly.
- Mixing Bowl: A large bowl is ideal for combining the ingredients.
- Measuring Spoons and Cups: Ensures precise measurements for the perfect texture.
- Teaspoon or Cookie Scoop: Helps create evenly sized balls for consistent serving.
- Plastic Wrap: Essential for chilling the dough without drying it out.
- Rolling Tray: Use a shallow dish for rolling the balls in cocoa powder or other coatings.
- Refrigerator Space: Make sure you have room to chill the balls without crowding.
FAQ Section for Tiramisu Balls
- Can I use cream cheese instead of mascarpone?
Yes, but the flavor and texture will be slightly tangier and less rich. - How do I make these gluten-free?
Use gluten-free ladyfinger biscuits or substitute with crushed gluten-free vanilla wafers. - Can I add chocolate chips?
Absolutely! Mini chocolate chips can be folded into the dough for extra texture. - Do I need to refrigerate these overnight?
While not required, chilling overnight enhances the flavor development. - Can I skip the coffee?
Yes, you can substitute with milk or a non-dairy alternative for a kid-friendly version. - What’s the best way to gift these?
Package in small tins or clear bags tied with a ribbon for an elegant gift presentation. - Can I use decaf coffee?
Yes, decaf coffee is a great option for those avoiding caffeine. - What’s a good nut substitute?
If avoiding nuts, try crushed graham crackers, cookie crumbs, or toasted coconut. - How do I prevent them from sticking while rolling?
Lightly dust your hands with powdered sugar or cocoa powder to prevent sticking. - Can I add a filling?
Yes, try inserting a small chocolate chip or nut in the center for a hidden surprise.

Tiramisu Balls
- Total Time: 1 hour 10 minutes
- Yield: 20 balls 1x
Description
Tiramisu Balls are the perfect bite-sized twist on a classic Italian dessert, delivering all the rich flavors of tiramisu in one convenient, indulgent mouthful. The combination of creamy mascarpone, bold espresso, and a hint of cocoa creates a dessert that’s both sophisticated and deeply satisfying. These little bites aren’t just a treat; they’re a celebration of tiramisu’s essence in its most portable form.
Ingredients
- 1 cup crushed ladyfinger biscuits (savoiardi)
- ½ cup mascarpone cheese
- 2 tablespoons brewed coffee (cooled)
- 2 tablespoons powdered sugar
- 1 teaspoon vanilla extract
- ½ cup finely ground almonds or hazelnuts (optional)
- 3 tablespoons unsweetened cocoa powder, for rolling
- 2 tablespoons finely grated dark chocolate, for rolling
- 1 tablespoon powdered sugar (for coating, optional)
Instructions
Mix the Ingredients:
- Crush Ladyfingers: Place ladyfinger biscuits in a food processor or resealable bag and crush into fine crumbs.
- Prepare the Base: In a large mixing bowl, combine the crushed ladyfingers, mascarpone cheese, brewed coffee, powdered sugar, and vanilla extract. Stir until the mixture forms a sticky dough.
Chill the Dough:
- Refrigerate: Cover the dough with plastic wrap and refrigerate for 30 minutes to allow it to firm up for easier rolling.
Roll and Coat:
- Form Balls: Using a teaspoon, scoop out portions of the dough and roll into 1-inch balls.
- Coat the Balls: Roll each ball in your desired coating—cocoa powder, grated dark chocolate, or powdered sugar. For a variety pack, try using different coatings.
Chill Again and Serve:
- Final Chill: Place the coated balls on a tray and refrigerate for at least 20 minutes to set.
- Serve: Arrange on a dessert plate or in mini cupcake liners for a neat presentation.
- Prep Time: 20 minutes
Nutrition
- Calories: 90-100kcal
- Fat: 2g
- Carbohydrates: 10g
- Protein: 5g
Conclusion for Tiramisu Balls
Tiramisu Balls are a decadent, bite-sized twist on the classic Italian dessert, perfect for any occasion. Their rich, velvety filling—infused with the bold flavors of espresso and cocoa—pairs beautifully with the light crunch of the outer coating, creating a luxurious texture in every bite.
What makes these treats truly special is their versatility. Whether you’re serving them as an elegant party dessert, a sweet snack, or a quick indulgence with your afternoon coffee, Tiramisu Balls fit effortlessly into any setting. Plus, they’re easy to prepare and perfect for make-ahead desserts.
I’m confident these Tiramisu Balls will become a favorite go-to recipe for lovers of bold, creamy flavors. When you try them, be sure to share your creations and tag me on social media—I’d love to see how you make these indulgent bites your own! Enjoy every delicious bite!