White Chocolate Raspberry Dream Cake is a dessert that captivates both the eye and the palate. A perfect blend of creamy white chocolate and tart raspberries creates an exceptional flavor profile that is simply unforgettable. This amazing cake is not just another dessert; it’s an experience of delectable layers and contrasting tastes that elevates any occasion. Whether you’re celebrating a milestone or just treating yourself, this cake brings sheer joy into your life with every slice. In this article, we will explore why this recipe stands out, the preparation time required, the necessary ingredients, and straightforward step-by-step instructions to create this masterpiece.
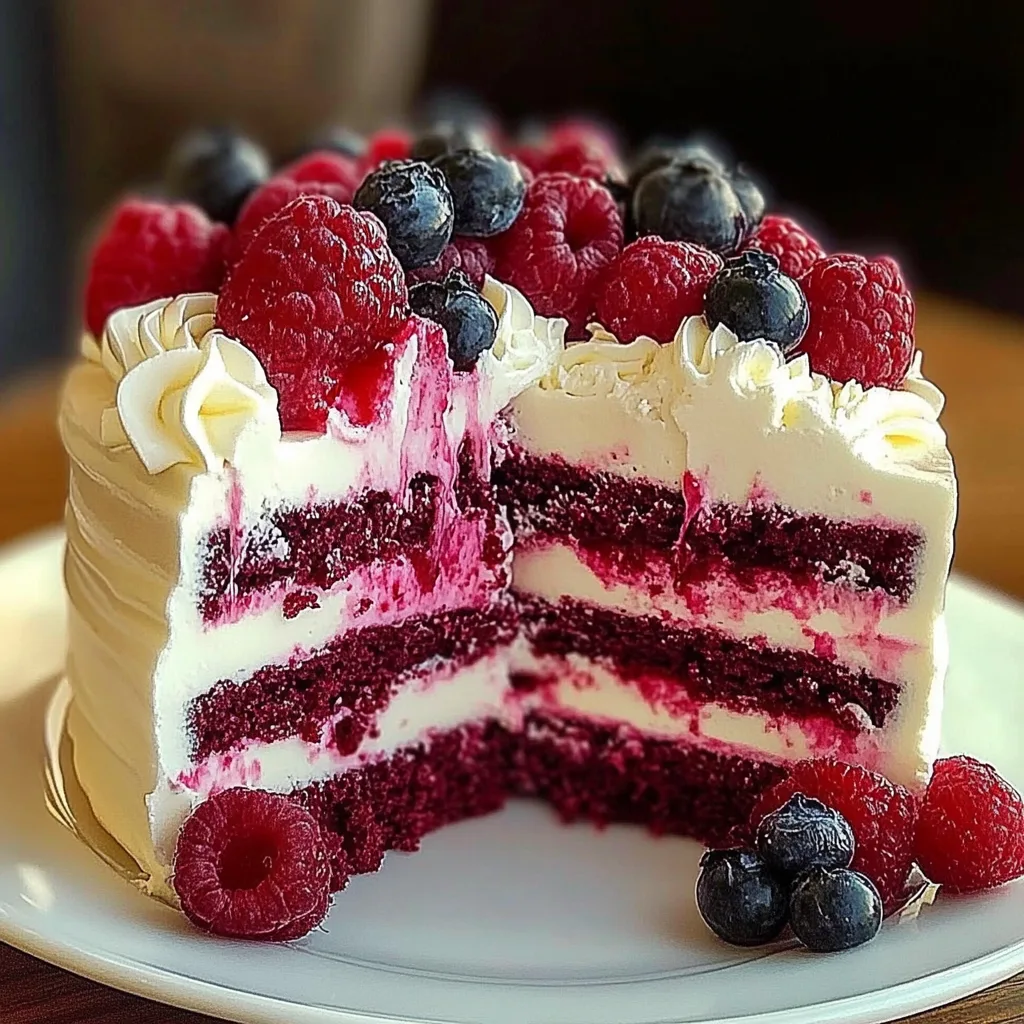
This amazing cake has become a favorite in many households due to its balance of sweetness from the white chocolate paired with the refreshing tang of raspberries. Each layer of this cake is rich and moist, making it a delightful culinary creation. The visual appeal of the cake, often accentuated by stunning raspberry coulis or white chocolate shavings, makes it a showstopper at any gathering. As you slice into it, the vibrant colors of the raspberries against the creamy white chocolate layers create a picture-perfect moment you won’t want to miss. Let’s delve into why this White Chocolate Raspberry Dream Cake is sure to make your next event unforgettable.
Why You’ll Love This Recipe
There are countless reasons to fall head over heels for this White Chocolate Raspberry Dream Cake. Here are just a few:
1. Irresistible Flavor: The combination of rich white chocolate with tart raspberries creates a balance that tantalizes the taste buds.
2. Visually Stunning: This cake is a feast for the eyes, with its layers of creamy white goodness interspersed with vibrant raspberry swirls.
3. Perfect for Any Occasion: Whether it’s a birthday, anniversary, or holiday gathering, this cake is sure to impress your guests.
4. Easy-to-Follow Instructions: The straightforward steps make it accessible for bakers of all skill levels.
5. Versatile Variations: You can easily adjust this recipe to include other fruits or flavorings to suit your preferences.
6. Great for Leftovers: This cake stores well, maintaining its delightful tastes even after a couple of days.
With these compelling aspects, it’s clear that this White Chocolate Raspberry Dream Cake is a must-try for any dessert enthusiast!
Preparation and Cooking Time
Creating your own White Chocolate Raspberry Dream Cake requires a bit of time, but the results are well worth it. Here’s a breakdown of the time needed for preparation and baking:
– Preparation Time: 30 minutes
– Cooking Time: 40-50 minutes
– Cooling Time: 20-30 minutes
In total, you’re looking at about 1 hour and 30 minutes from start to finish before diving into this divine dessert!
Ingredients
– 2 cups all-purpose flour
– 1 ½ cups granulated sugar
– ½ cup unsalted butter, softened
– 1 cup whole milk
– 4 large eggs
– 1 tablespoon baking powder
– ½ teaspoon salt
– 1 teaspoon vanilla extract
– 1 cup white chocolate chips, melted
– 1 cup fresh raspberries (plus extra for decoration)
– 1 cup heavy whipping cream
– 2 tablespoons powdered sugar (for whipping cream)
– Raspberry coulis (for serving, optional)
Step-by-Step Instructions
Creating your very own White Chocolate Raspberry Dream Cake is simple when you follow these easy steps:
1. Preheat the Oven: Start by preheating your oven to 350°F (175°C). Grease and flour two 9-inch round cake pans.
2. Mix Dry Ingredients: In a medium bowl, whisk together the all-purpose flour, baking powder, and salt. Set aside.
3. Cream Butter and Sugar: In a large mixing bowl, beat the softened butter and granulated sugar together until light and fluffy.
4. Add Eggs and Vanilla: Mix in the eggs, one at a time, along with the vanilla extract until fully combined.
5. Incorporate Milk and White Chocolate: Gradually add the milk, mixing until just combined. Then fold in the melted white chocolate until well blended.
6. Combine Mixtures: Gradually add the dry ingredient mixture to the wet ingredients, mixing until smooth and no lumps remain.
7. Fold in Raspberries: Gently fold in the fresh raspberries, being careful not to break them apart too much.
8. Divide and Bake: Pour the batter evenly into the prepared cake pans. Bake in the preheated oven for 40-50 minutes or until a toothpick inserted into the center comes out clean.
9. Cool the Cakes: Allow the cakes to cool in the pans for about 20 minutes. Then, carefully remove them from the pans and transfer to wire racks to cool completely.
10. Prepare Whipped Cream: In a mixing bowl, whip the heavy cream and powdered sugar until soft peaks form.
11. Assemble the Cake: Once cooled, place one cake layer on a serving platter. Spread a generous layer of whipped cream on top. Add the second layer and finish with more whipped cream on top.
12. Decorate: Garnish with additional fresh raspberries and drizzle with raspberry coulis if desired.
This step-by-step guide will ensure you create a stunning and decadent White Chocolate Raspberry Dream Cake that will leave your guests wanting more!
How to Serve
Serving your White Chocolate Raspberry Dream Cake can be as thoughtful as the preparation. Here are some ideas to enhance the experience:
1. Presentation Matters: Use a beautiful cake stand or platter to elevate its look, making it a focal point on the table.
2. Add Complementary Sides: Offer a side of raspberry coulis or a scoop of vanilla ice cream to complement the flavors of the cake.
3. Slice Generously: Serve slices that are sufficient but not overwhelming, allowing guests to enjoy a second helping if they desire.
4. Pair with Drinks: Consider serving the cake alongside hot coffee, dessert wine, or even a refreshing fruit-infused beverage to enhance the overall experience.
With these serving suggestions, your White Chocolate Raspberry Dream Cake will be a memorable highlight at your next gathering!
Additional Tips
– Use Fresh Ingredients: Always opt for fresh raspberries and quality white chocolate. Fresh fruits enhance flavor and texture, while good chocolate elevates the overall taste.
– Allow Ingredients to Reach Room Temperature: For the best consistency, let your eggs, milk, and butter sit out before mixing. This will result in a smoother batter and a more uniform bake.
– Rotate Your Pans: To ensure even baking, rotate the cake pans halfway through the cooking time. This helps prevent uneven rising.
– Be Gentle with Raspberries: When folding in the raspberries, do so gently to keep them intact for a beautiful presentation.
– Chill the Cake: Allow your completed cake to chill in the fridge for a bit before serving. It helps the layers set, making it easier to slice.
Recipe Variation
Feel free to switch things up! Here are a few variations to try:
1. Chocolate and Raspberry Swirl: Add cocoa powder to part of the batter to create a chocolate and raspberry swirl effect for a richer taste.
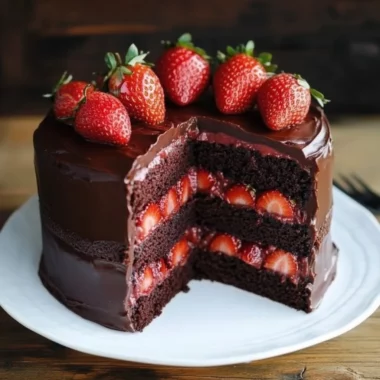
2. Different Fruit: Swap the raspberries for blueberries or strawberries for a different flavor profile. Each fruit lends a unique twist.
3. Nut Incorporation: Include crushed macadamia nuts or almonds between the layers for added texture and flavor.
4. Cheesecake Layer: Introduce a cheesecake layer by combining cream cheese, sugar, and eggs. This adds creamy richness and makes the cake more indulgent.
Freezing and Storage
– Storage: Keep your White Chocolate Raspberry Dream Cake in an airtight container in the refrigerator. It can last for about 4-5 days.
– Freezing: If you want to save some for later, you can freeze slices of the cake. Wrap them tightly in plastic wrap followed by foil and store them for up to 3 months. Thaw them in the fridge before serving.
Special Equipment
You will need a few essential tools to prepare this cake successfully:
– Mixing Bowls: A variety of bowl sizes will help you with mixing the ingredients.
– Electric Mixer: An electric mixer speeds up the creaming process and saves effort.
– Rubber Spatula: Useful for folding in the batter and raspberries without crushing them.
– 9-inch Round Cake Pans: Two pans are required to bake the cake layers simultaneously.
– Cooling Racks: Essential for allowing the cakes to cool completely and maintain their texture.
Frequently Asked Questions
How do I know when the cake is done baking?
Insert a toothpick into the center; if it comes out clean or with a few moist crumbs, the cake is ready.
Can I make this cake ahead of time?
Absolutely! You can bake and assemble the cake a day before serving. This allows the flavors to meld beautifully.
Is this cake suitable for dietary restrictions?
You can adapt the recipe by using gluten-free flour for a gluten-free option or substituting dairy with non-dairy substitutes.
Can I eliminate the white chocolate?
Yes, you can substitute it with dark or semi-sweet chocolate for a richer flavor profile.
Conclusion
The White Chocolate Raspberry Dream Cake is more than just a dessert; it’s an experience that tantalizes the senses. Perfectly balancing rich white chocolate and tart raspberries, this cake is sure to be a centerpiece at any gathering. Its ease of preparation coupled with its stunning visual appeal makes it an excellent choice for both novice and experienced bakers alike. Whether you’re celebrating a special occasion or simply treating yourself, this cake is destined to please.

White Chocolate Raspberry Dream Cake: An Incredible Ultimate Recipe
- Total Time: 0 hours
Ingredients
– 2 cups all-purpose flour
– 1 ½ cups granulated sugar
– ½ cup unsalted butter, softened
– 1 cup whole milk
– 4 large eggs
– 1 tablespoon baking powder
– ½ teaspoon salt
– 1 teaspoon vanilla extract
– 1 cup white chocolate chips, melted
– 1 cup fresh raspberries (plus extra for decoration)
– 1 cup heavy whipping cream
– 2 tablespoons powdered sugar (for whipping cream)
– Raspberry coulis (for serving, optional)
Instructions
Creating your very own White Chocolate Raspberry Dream Cake is simple when you follow these easy steps:
1. Preheat the Oven: Start by preheating your oven to 350°F (175°C). Grease and flour two 9-inch round cake pans.
2. Mix Dry Ingredients: In a medium bowl, whisk together the all-purpose flour, baking powder, and salt. Set aside.
3. Cream Butter and Sugar: In a large mixing bowl, beat the softened butter and granulated sugar together until light and fluffy.
4. Add Eggs and Vanilla: Mix in the eggs, one at a time, along with the vanilla extract until fully combined.
5. Incorporate Milk and White Chocolate: Gradually add the milk, mixing until just combined. Then fold in the melted white chocolate until well blended.
6. Combine Mixtures: Gradually add the dry ingredient mixture to the wet ingredients, mixing until smooth and no lumps remain.
7. Fold in Raspberries: Gently fold in the fresh raspberries, being careful not to break them apart too much.
8. Divide and Bake: Pour the batter evenly into the prepared cake pans. Bake in the preheated oven for 40-50 minutes or until a toothpick inserted into the center comes out clean.
9. Cool the Cakes: Allow the cakes to cool in the pans for about 20 minutes. Then, carefully remove them from the pans and transfer to wire racks to cool completely.
10. Prepare Whipped Cream: In a mixing bowl, whip the heavy cream and powdered sugar until soft peaks form.
11. Assemble the Cake: Once cooled, place one cake layer on a serving platter. Spread a generous layer of whipped cream on top. Add the second layer and finish with more whipped cream on top.
12. Decorate: Garnish with additional fresh raspberries and drizzle with raspberry coulis if desired.
This step-by-step guide will ensure you create a stunning and decadent White Chocolate Raspberry Dream Cake that will leave your guests wanting more!
- Prep Time: 30 minutes
- Cook Time: 40-50 minutes
Nutrition
- Serving Size: 12 slices
- Calories: 400 kcal
- Fat: 20g
- Protein: 6g