When the temperatures begin to drop and the leaves turn shades of amber and crimson, there’s nothing quite like the comforting warmth of a hearty bowl of vegetarian chili with beans. As a food enthusiast, I’ve had the pleasure of trying many versions, but this particular recipe has truly captured my heart—and the hearts of my family. The blend of robust flavors, coupled with its simplicity in preparation, makes it a staple in our household. Whether it’s a family gathering or a quiet evening at home, this chili has been a hit, leaving everyone satisfied and eager for seconds. The aroma that fills the kitchen is intoxicating, with spices mingling to create a symphony of warmth and comfort. It’s the kind of dish that brings people together, sparking conversation and evoking a sense of home. If you’re looking for a recipe that combines ease, flavor, and nutrition, this vegetarian chili with beans is a must-try.
Ingredients
Every great dish starts with quality ingredients, and this vegetarian chili is no exception. Each component plays a crucial role in building the depth and richness of the final product. Here’s what you’ll need:
- 2 tablespoons olive oil
- 1 large onion, diced
- 2 cloves garlic, minced
- 1 bell pepper, chopped
- 2 carrots, diced
- 2 celery stalks, diced
- 2 tablespoons chili powder
- 1 teaspoon cumin
- 1 teaspoon smoked paprika
- 1/2 teaspoon cayenne pepper (optional for heat)
- 1 (28-ounce) can crushed tomatoes
- 2 (15-ounce) cans kidney beans, drained and rinsed
- 1 (15-ounce) can black beans, drained and rinsed
- 1 (15-ounce) can corn, drained
- 1 cup vegetable broth
- Salt and pepper to taste
- 1/4 cup fresh cilantro, chopped (for garnish)
- 1 avocado, sliced (for garnish)
Instructions
Creating this vegetarian chili is as straightforward as it is rewarding. Follow these steps to bring this comforting dish to life:
- Prepare the base: In a large pot, heat the olive oil over medium heat. Add the diced onion and sauté for about 5 minutes until it’s soft and translucent. Stir in the minced garlic and cook for another minute until fragrant.
- Add the vegetables: Toss in the chopped bell pepper, carrots, and celery. Cook for 5-7 minutes until the vegetables begin to soften.
- Spice it up: Sprinkle the chili powder, cumin, smoked paprika, and cayenne pepper over the vegetables. Stir well to coat everything in the spices, letting them cook for about 2 minutes to release their flavors.
- Build the chili: Pour in the crushed tomatoes, kidney beans, black beans, corn, and vegetable broth. Stir everything together, ensuring the ingredients are well combined. Season with salt and pepper to taste.
- Simmer: Bring the mixture to a gentle boil, then reduce the heat to low and cover the pot. Let the chili simmer for at least 30 minutes, stirring occasionally. This allows the flavors to meld beautifully.
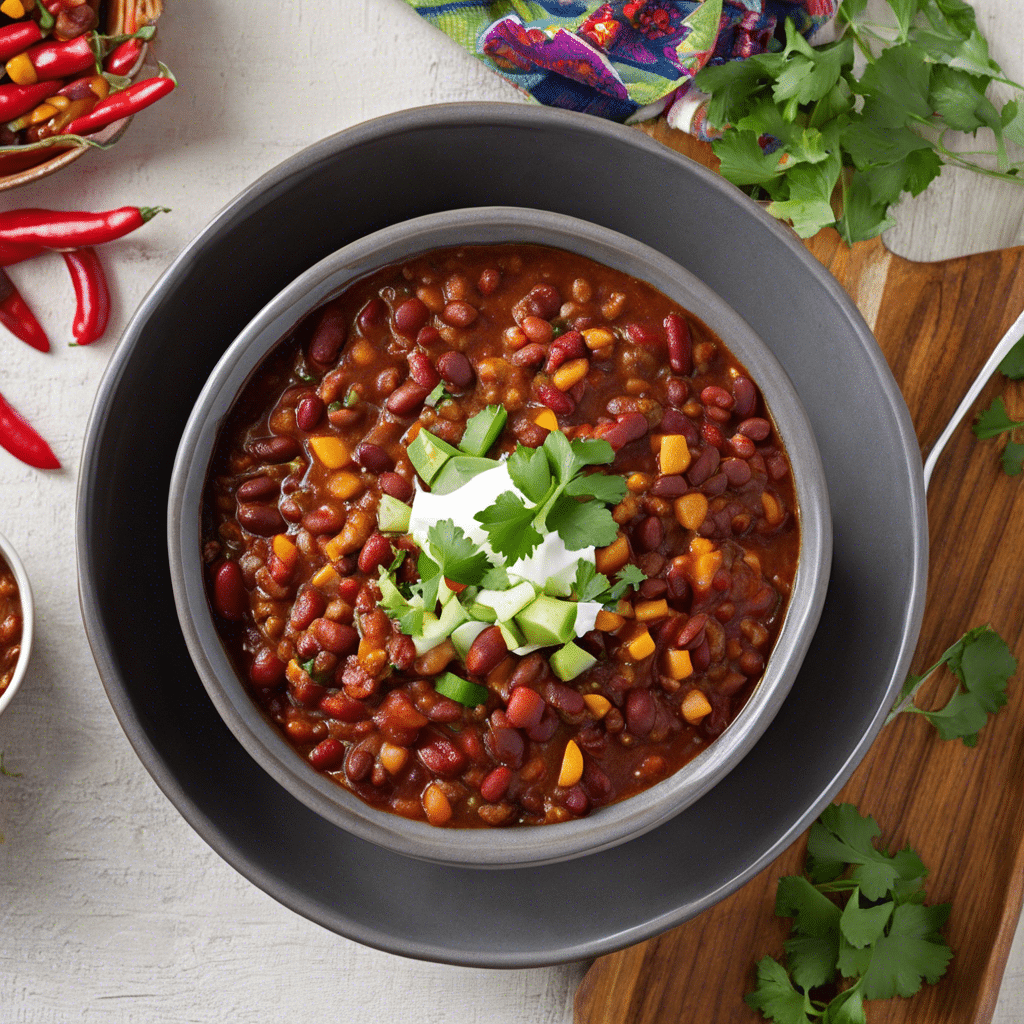
- Final touches: Adjust the seasoning if necessary. Serve the chili hot, garnished with fresh cilantro and avocado slices for an added layer of texture and flavor.
Nutrition Facts
This vegetarian chili is not only delicious but also packed with nutrients. It’s a wholesome option that fits well into a balanced diet. Here’s a breakdown of its nutritional profile:
- Servings: 6
- Calories per serving: Approximately 320 calories
With a combination of protein-rich beans and an array of vegetables, this chili provides a good source of fiber and essential vitamins. It’s a perfect meal for anyone looking to maintain a healthy lifestyle without sacrificing taste.
Preparation Time
Time is often of the essence, and this recipe respects that. The beauty of this vegetarian chili lies not only in its taste but also in its efficiency. From start to finish, you can expect to spend about an hour preparing this dish. Here’s how the time breaks down:
- Preparation time: 15 minutes
- Cooking time: 45 minutes
In just under an hour, you can have a steaming pot of chili ready to be enjoyed, making it an ideal choice for busy weeknights or lazy weekends.
How to Serve
Serving this chili can be as creative as you’d like. Here are some suggestions to elevate your dining experience:
- Pair it with a side of crusty bread or warm tortillas for dipping.
- Top with a dollop of sour cream or a sprinkle of shredded cheese for added creaminess.
- Serve over a bed of rice or quinoa for a heartier meal.
- Accompany with a fresh green salad to balance the richness of the chili.
- Add a splash of lime juice for a zesty kick.
Additional Tips
To ensure your vegetarian chili is a success, consider these additional tips:
- Experiment with spices: Don’t be afraid to adjust the spices to suit your personal taste. Adding a bit of cinnamon or cocoa powder can introduce a new depth of flavor.
- Make it ahead: This chili tastes even better the next day as the flavors continue to develop, making it a great option for meal prep.
- Use fresh ingredients: Whenever possible, opt for fresh vegetables to enhance the overall taste and texture.
- Customize the beans: Feel free to substitute or add other beans like pinto or chickpeas to diversify the texture.
- Freeze leftovers: This chili freezes well, so consider making a double batch and storing portions for future quick meals.
FAQ Section
Here are some frequently asked questions about this vegetarian chili recipe:
- Can I make this chili in a slow cooker? Yes, you can! Simply sauté the onion and garlic, then add all ingredients to a slow cooker and cook on low for 6-8 hours.
- Is this recipe gluten-free? Yes, as long as you ensure all canned and packaged ingredients are certified gluten-free.
- How can I add more protein to this dish? Consider adding a cup of cooked quinoa or lentils to boost the protein content.
- Can I adjust the spice level? Absolutely! You can tailor the heat by adding more or less cayenne pepper, or even including jalapeños.
- What can I use instead of cilantro for garnish? If you’re not a fan of cilantro, try using parsley or green onions as an alternative garnish.